Thursday, May 12, 2011

Final Project: Toy

Creating a toy that had some personal tie to me was initially difficult. My childhood toys were a hammer and nails during the summer and a box of legos during the winter. I spent my time building castles and then finding monsters to either slay them or encourage them to attack the castle. While I was pondering this dilemma, I was brought back to my last project of a gargoyle. I had the research, they fit as monsters of my youth, so I had a subject to use again. Working with metal and tools has always been play time for me, so I incorporated these into my toy.
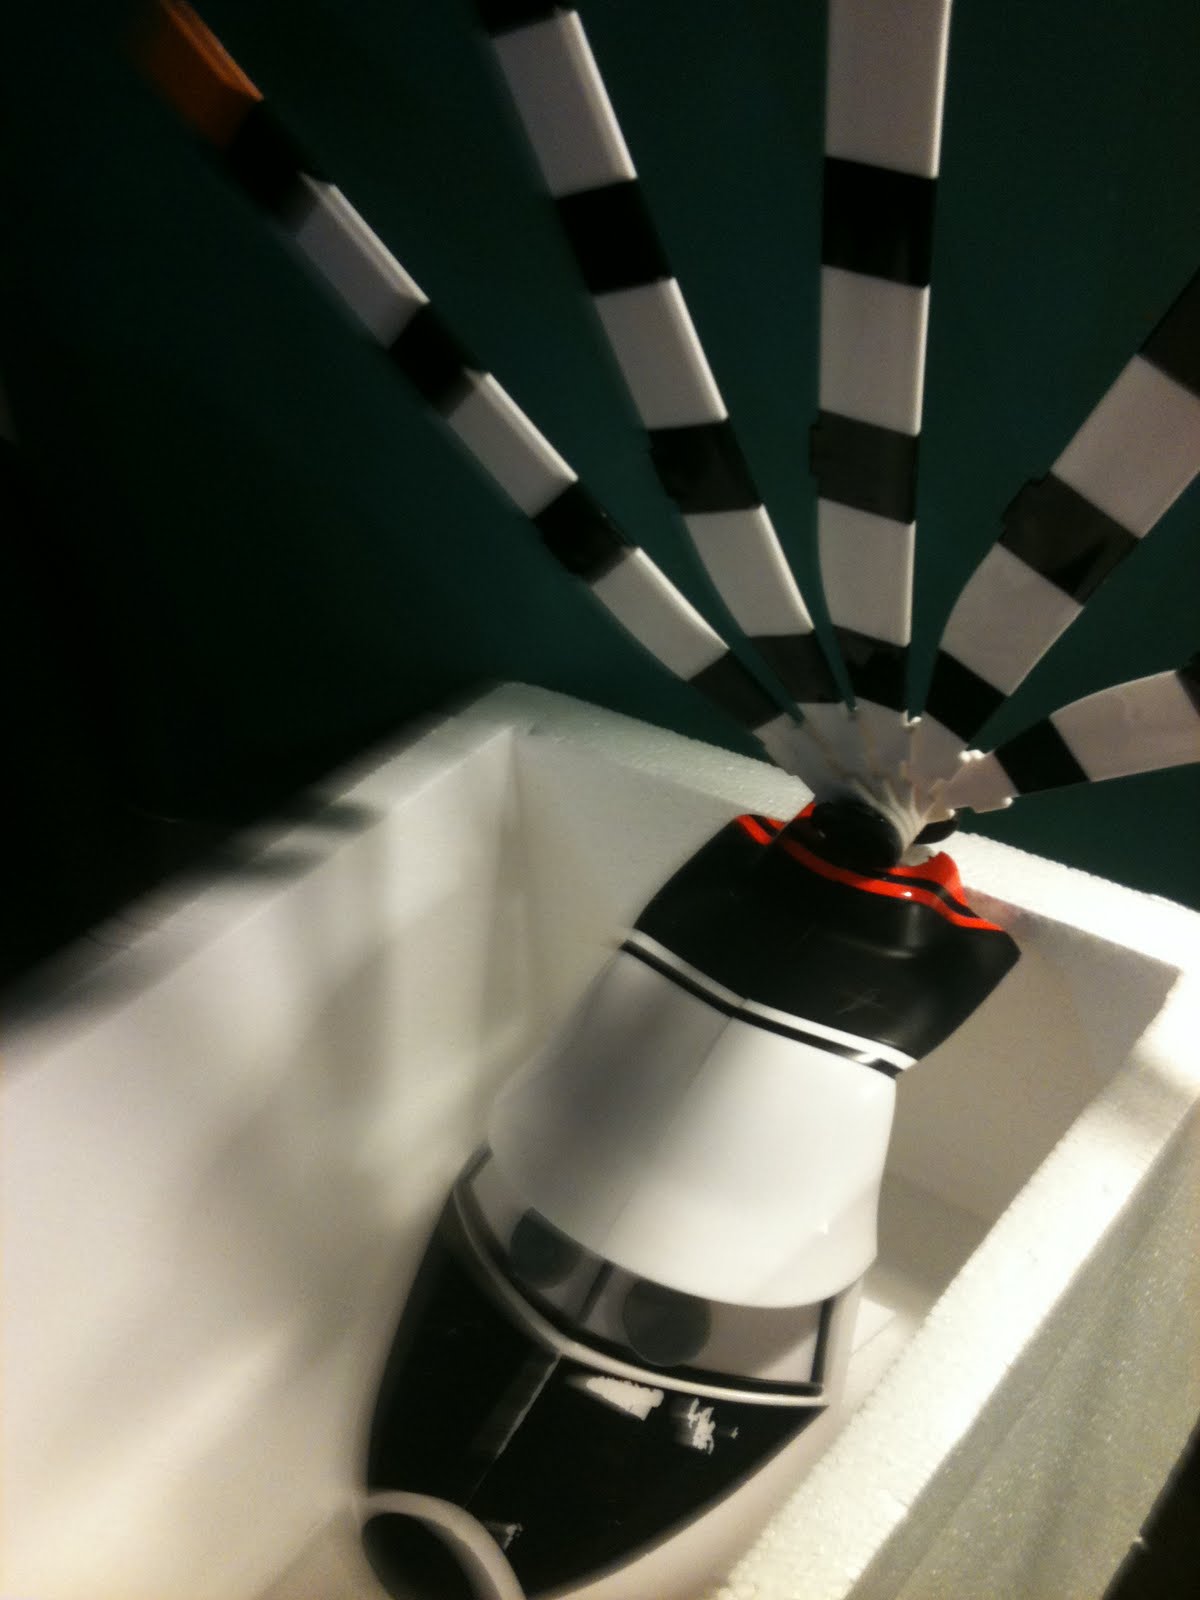
Collecting the found objects was part rummaging through my own storage closet and part jogging through my neighborhood. I have collected a mass of odd things over the years, unwilling to throw anything away that might come in useful later. Thus the body of my project came from cleaned out garages, hidden junk piles in basements, sheds being demolished and homes being renovated. All of the things were given to me or found by me. Except for the glue and putty, those I had to purchase. The final pieces came from a neighbors recycling, the toy chopper for a head (and later, a box of gold fish for the wings).
My idea for the design was mostly circles and lines. I used round pieces and straight pieces as much as I could. I wanted to emphasis the constructed look, straight lines and perfect circles that aren’t found in nature. The robots of my youth had a little to do with this as well.
My final piece is a collection of robot, gargoyle and tribal warrior. This is defiantly a toy that I would play with as a child (or adult). The name and background story of my robot gargoyle is still in the works but coming soon.

On of my inspiration pieces.
The Body is a mini beer keg that I just couldn't part with.
 The feet are old ceramic light sockets with brass washers and bolts for legs.
The wings are long metal rods held on with metal epoxy putty.
 The initial pieces.
 The arms are wrenches I found bolted and glued together. I added an old hinge to cover an odd placed hole int he body.
 I cut off the front of the toy helicopter to use as a head. I used the rotor for a headdress of sorts. I thought about using them as wings or horns, but I didn't want to separate them.
 My biggest problem child was getting this tail piece from the helicopter to stay on as my gargoyles tail. It just wouldn't stay put.
 Dramatic lighting turns the comic effect down and makes him almost scary.


 My final piece. I added a base in order to keep him more stable. He kept tipping.

My two gargoyles posing together.

Tuesday, May 3, 2011

Project 3: Polyhedral Structures (Phase B)

With this project I decided to give in to the Gargoyle. I had enough research from the previous projects that I just needed to sketch out a rough idea and then fit in the polyhedrals. After some quick sketches I began with a bristol paper body, which was mostly just a box. I added a wing to see if the size was appropriate. Then I broke out the card-stock and models and started construction.
The second hardest part was deciding what shapes to use. This required me to understand the functions of the pieces and then to take a cubist view of the body parts. I gave the arm sections six sides to make them rounder, I gave the gargoyle squared pecks to pay tribute to impersonate armor of the middle ages. Each body part was created with a polyhedral and then assembled together. The final structure had folded wings to keep the weight down and only the top half of the body because getting the legs to look like a squatting gargoyle didn't work. They kept making it look like a bent frog.
Overall, in order to make this sculpture, I had to get an idea of how the smaller shapes fit together to represent the intended idea.